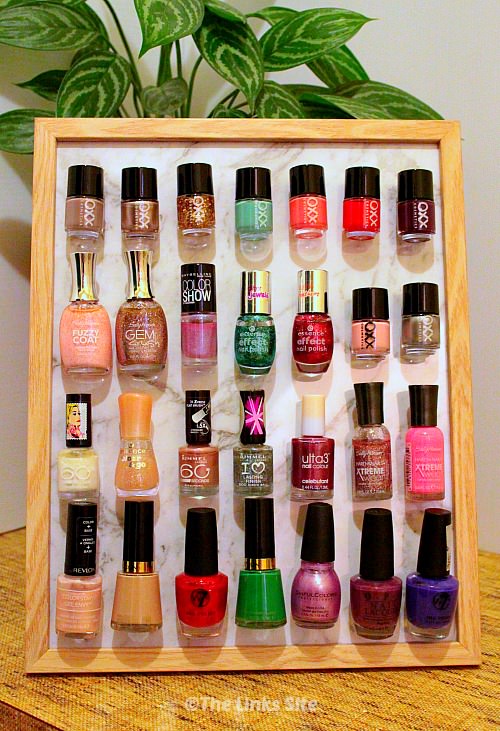
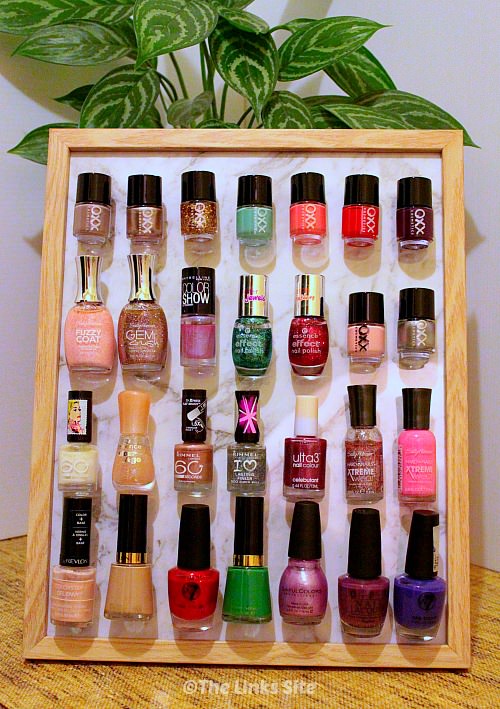
 Lean how to use a photo frame to display your nail polish collection with this cute DIY Nail Polish Organizer. You won’t believe how quick and easy it is to make!
Over the last couple of years I have been storing all of my nail polishes in a small gift box. When I first did this I had thought that it would be great because I could grab the entire box and take it to where I want to use it. The problem with this is that every time you pick up the box half the nail polish bottles fall over! It is so annoying!
I thought I had found a solution to the problem when I saw someone using magnetic tape and a cookie tray to organize their makeup here. Problem was it didn’t work for me and my nail polish – the magnetic tape just couldn’t hold the weight of the nail polish bottles.
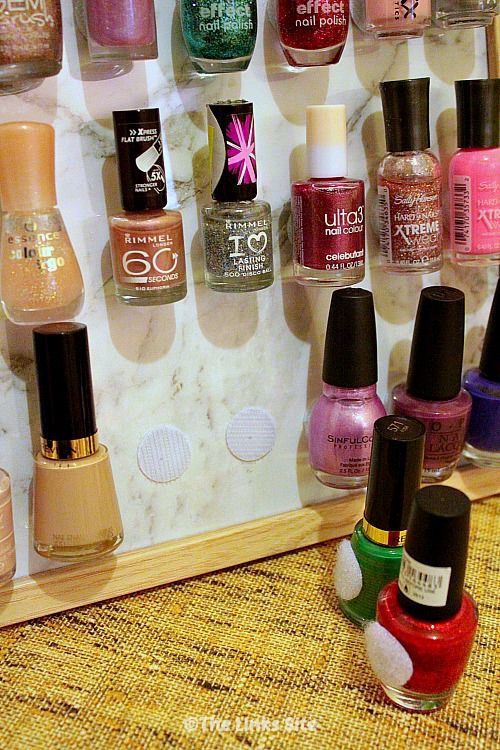
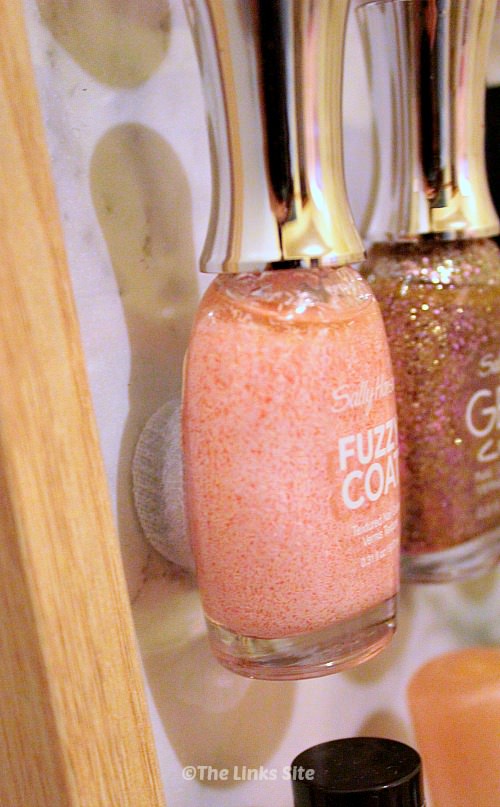
I really wanted to organize my nail polish that way too so I finally came up with the idea to try using Velcro. I thought that it would hold better and I knew that you can buy Velcro in handy dots.
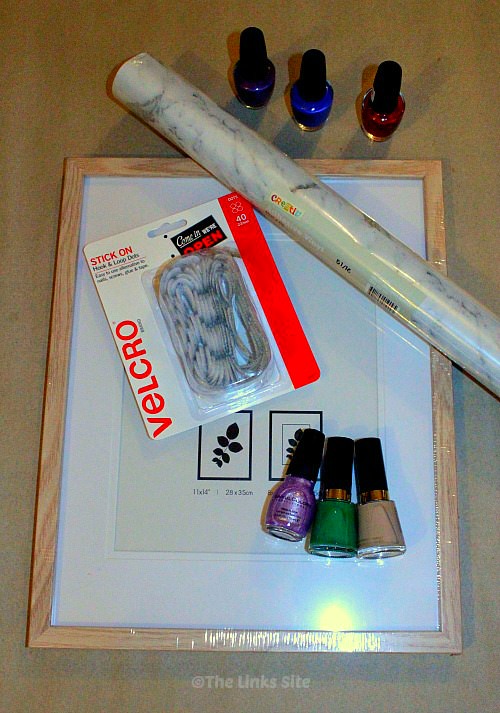
The whole thing was very cheap too; the frame cost $10, the adhesive vinyl back drop cost $3, and the Velcro dots cost $9 for a packet of 40. I used the nail polish that I already had, so the whole project cost me $22, not bad!
How to Make A DIY Nail Polish Organizer Using a Photo Frame
Materials
- Large photo frame with stand (mine is 28 x 36 cm or 11 x 14 inch)
- Something to decorate the inside of you frame and provide a backdrop for your nail polish (I used adhesive vinyl)
- Velcro dots or a strip of Velcro tape
- Assorted Nail polish bottles
Method:
- Make a backdrop for your nail polish by cutting a piece of adhesive vinyl so that it fits snuggly inside the photo frame (pretend you are framing your adhesive vinyl).
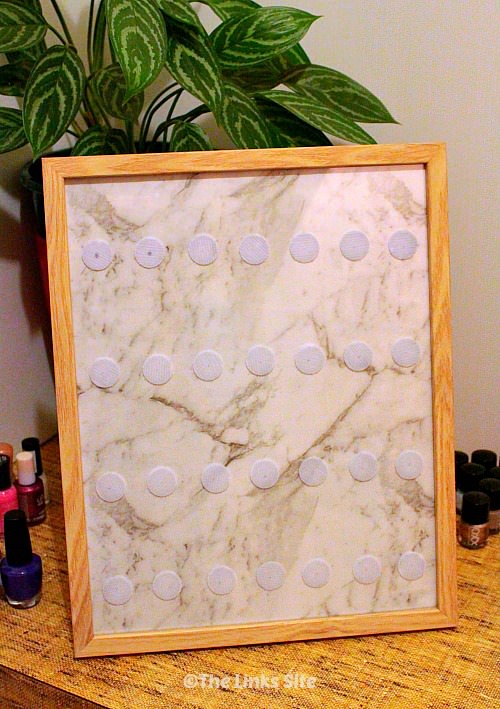
- Gather up all of your nail polish bottles and using the largest bottle work out how far apart you need to place your Velcro dots. I wanted to have a small gap around each bottle so I left a 1.5 cm space between each dot. I got 4 rows of 7 bottles.
- Attach the Velcro dots (hook dots) to your frame.
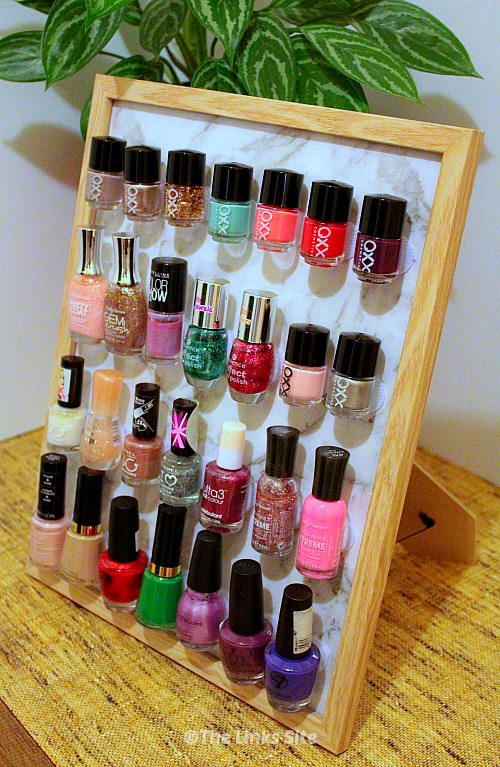
- Attach the Velcro dots (loop dots) to your nail polish bottles.
- You can now attach your nail polish bottles to the frame.*
* Even though the Velcro dots that I bought say that they hold 500g I found that it was best to not attach the heavier bottles for around 24 hours to make sure that the Velcro dots have adhered properly.
Finally I wanted to mention that a nail polish organizer like this would be a great gift idea. I know a few people that would love one of these!



You are a genius! Seriously, this is the first DIY nail polish holder that I feel will work, and is super easy. Thank you so much
Glad you liked the idea Jen, I was pretty happy with it! 🙂