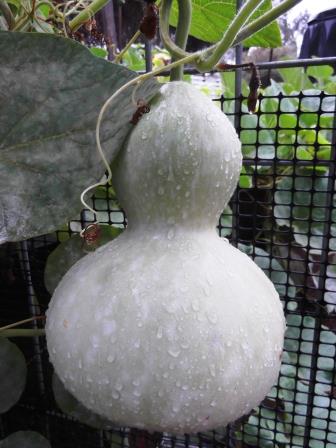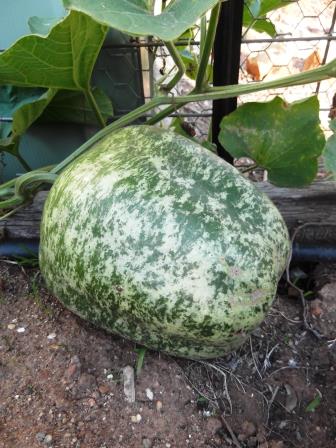
A couple of years ago I probably wouldn’t have been able to tell you much at all about gourds. I had seen the cute little pumpkin like fruit that are often used in decoration but I didn’t really know what they were. My mum became interested in them when she started learning about floral art and that is when I found out what a gourd was!
We had wondered about growing them ourselves so when we saw some gourds seeds for sale we bought them and had a go at growing them!
During spring last year we cleared out the vegie patch and along with other edible vegetables we planted some gourd seeds. They actually were quite easy to grow; they are a bit like pumpkins in their growing habit.

As the weather cools the plants are starting to die back, so lately we have started to wonder about when we should pick them. We also didn’t know what to do with them after they are picked. We needed to know how the gourds are dried and prepared for using in decorations and crafts.
After researching the topic online I found out that it is best if you can just leave the gourds to dry in the patch were they were growing. It sounds as though it is much harder to successfully dry gourds that have been harvested too early.

Here is a good YouTube video showing how gourds can be dried:
Important Points that I have learnt about Drying Gourds:
- It is best if you can leave the gourds to dry off where they are growing but you should at least wait until the leaves die back and the stem goes brown
- Leave a couple of inches of stem attached when you cut them off
- Keep them well ventilated
- Drying gourds give off an unpleasant smell so it is best not to dry them inside the house
- It is natural for some mould to form on the outside while the gourds are drying
- If they start to rot or soft spots form throw them away
- They are ready when the seeds can be heard rattling around inside
For further reading on the process of drying gourds check out the following links:
Amish Gourds website: Drying Gourds
Dave’s Garden website: Curing and Cleaning Gourds for Crafts
I am really looking forward to seeing how the gourds change as they dry. Hopefully we will get most of our gourds dried successfully. I can’t wait to get crafty with our gourds. I will share our attempts at gourd craft later in the year with any luck!


Hi I live in Adelaide SA and was wondering where I could get some dried gourds to use as bird feeders in a primary school that I work at? Thank you
Hi Laraine, after receiving your comment I had quick look online and found a gourd grower from Queensland that sells dried gourds and decorated gourds!
The link is: https://www.motharmountaingourds.com/
I am sure that they would have some that you could use as bird feeders.
Let me know how you get on!