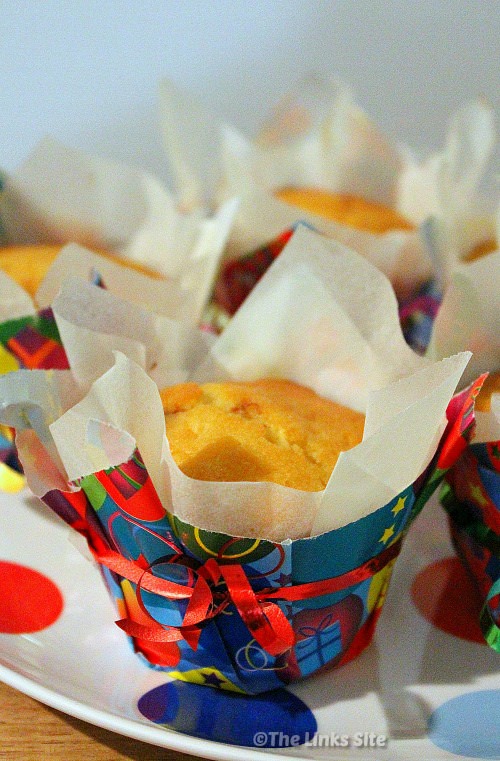
I have wanted to make café style muffin liners for a while but have never tried it until now. That’s probably because I have a container full of muffin/cupcake liners that I can choose from! I do like the tall puffy café style ones though – they look so elegant!
Despite liking the café style shape, colour wise I think they look a bit plain. That got me thinking about how I could make some in the café style but also add a bit of colour. So I came up with the idea of adding a decorative layer on the outside! Now I can have café style muffins with customised decorations on the outside!
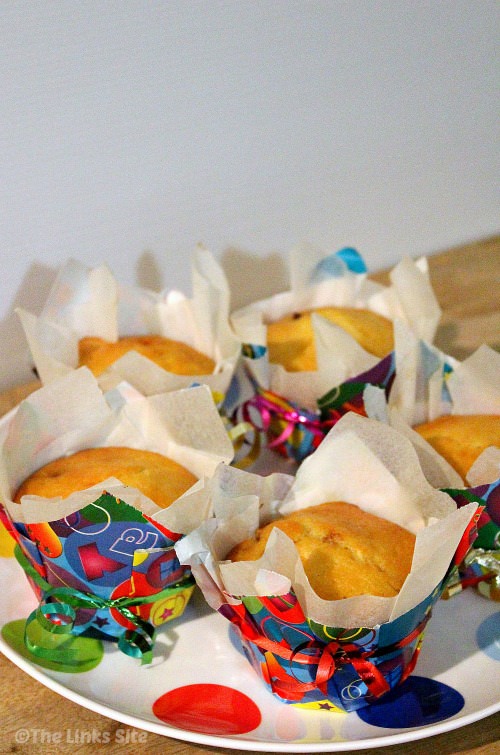
The process is very easy too:
- Make the inner liner from baking paper
- Bake your muffins
- Choose your wrapping paper and make the outer layer
- Decorate with ribbon
How to Make Café Style Muffin Liners
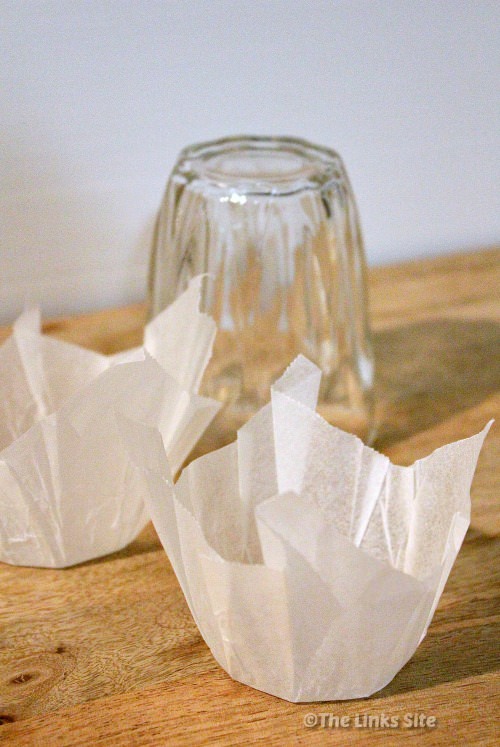
- Find something that fits snuggly inside the wells of your muffin tin so that you can use it as a mould. You want something with a bit of weight to it, so a glass or jar would be perfect.
If you can find more than one thing of the same size even better as extras can come in handy. I had a set of 6 drinking glasses that fit perfectly into my muffin tin wells.
- Cut squares of baking paper.
I wanted mine to be quite high around the sides of the muffins so I made mine 15 cm square (6 inches). This size is also handy as most rolls of baking paper are 30 cm wide so you can just cut off 15 cm strips and then cut each one of those in half! (You can make them a cm or two smaller if you know that your muffins will not rise much past the top of the muffin well).
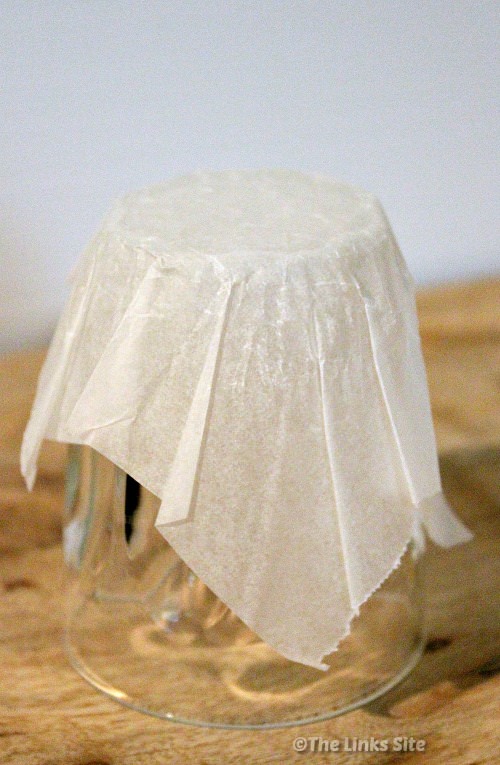
- Find the middle of the square and place it over the middle of your upturned glass/jar.
- Holding it in place with one finger, use the other hand to press down and wrap the paper around the glass/jar.
- Push down a couple of times so as to crease the paper in the glass shape and then release.
- Place the newly formed muffin liner into the well of a muffin tin and put another glass/jar on top (right way up). This will help to make sure the paper keeps holding its shape.
- Repeat steps 2 – 6 until you have enough muffin liners.
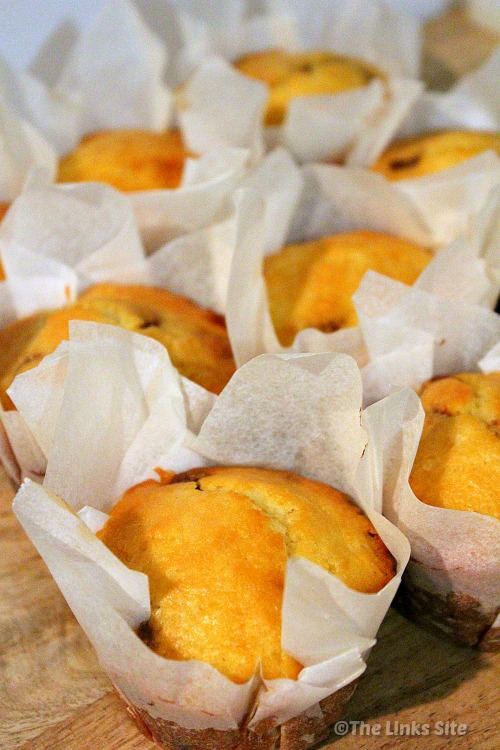
- You can now bake you favourite muffin recipe using these DIY café style muffin liners!
Handy Hint
- If time permits make the liners at least an hour or two before you need to use them.
Doing so means you can leave them stacked in the muffin tin for a while, which will help to stabilise their shape.
Even without the outer decorative layer these look great. But a little bit of bling around the outside will take them to the next level.
How to Customise the Café Style Muffin Liners
I love the look of café style muffin cases but I wanted to personalise them a little more. To do this:
- Use wrapping paper and follow the same procedure as above to make an outer cover for the muffins.
- Once the muffins have cooled they can then be placed (baking paper liner an all) into the decorative outer cover.
- To tie the two layers together, and make the muffins look even prettier tie some curling ribbon around each muffin.
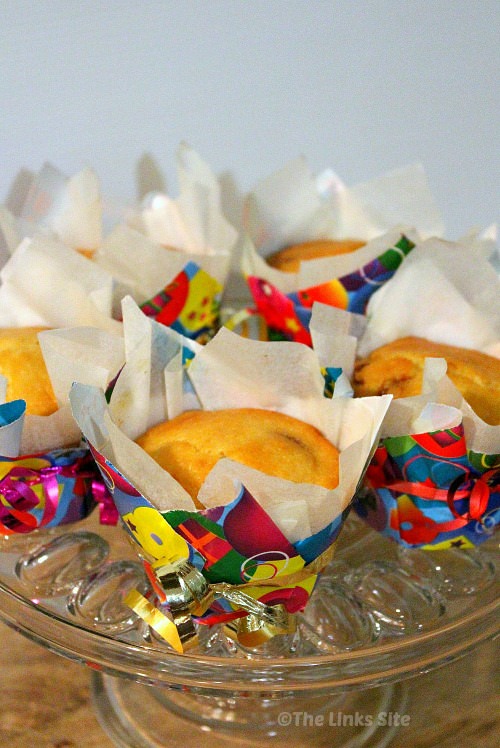
- To make it easier to tie the ribbon: place your muffin, with decorative cover, into a cold muffin tin well and then tie
- Use a couple of small pieces of sticky tape to hold the ribbon in place and ensure that it doesn’t slip off the decorative cover
- I found that thinner matte wrapping paper was easier to work with than thicker glossy paper
I think I’ll be using these customisable café style muffin liners quite often for special occasions. It is so much easier to find a wrapping paper in the look you want rather than a bought muffin liner!


Leave a Reply