This is a recipe for garlic and herb pull apart bread that I just can’t keep all to myself. It is easy to make, great for sharing and is deliciously cheesy and garlicky!
I think that everyone will agree with me that pizza and pasta dishes can be complemented perfectly with garlic bread. Soft warm bread with rich garlic flavour is something that is great as an entree, on the side, or simply just for mopping up the delightful juices that are too tasty to waste.
Until now, my usual method for preparing garlic bread is to buy some crusty white bread, slice the bread, butter it with garlic butter, wrap it up in foil and then toast it in the oven for a few minutes. Don’t get me wrong this is a very nice way of making garlic bread especially if you are in a hurry.
I have been making my own bread for a while now and I have mastered the crusty white loaf and I can boast that I make a pretty mean multigrain bread. Until now though, I have not tried anything fancier than traditional style loaves. That all changed very recently when I took a leap of faith and had a go at making up some garlic bread! This was not going to be a standard loaf of garlic bread it was going to be pull apart bread and I threw caution to wind and added cheese as well.
I have used crusty white bread flour instead of ordinary plain flour because I find that when I use it I get the loveliest light and soft textured bread. The method that I have used with this bread is almost identical to that used in my Simple Bread Recipe. The only difference is how the dough is assembled in the baking dish and the addition of the topping.
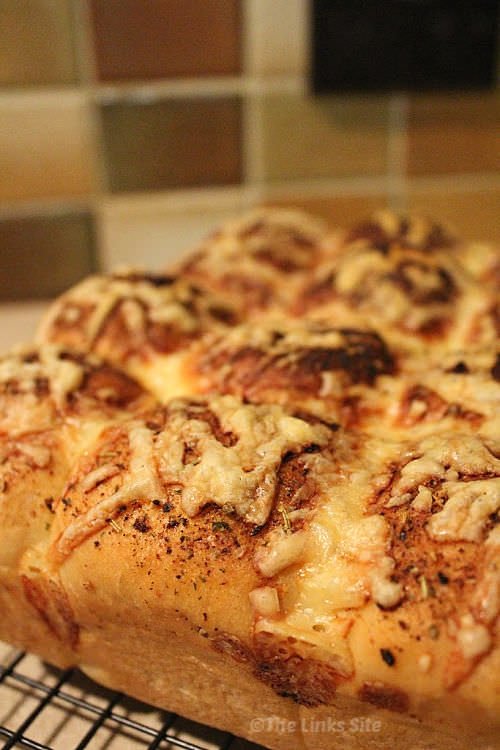
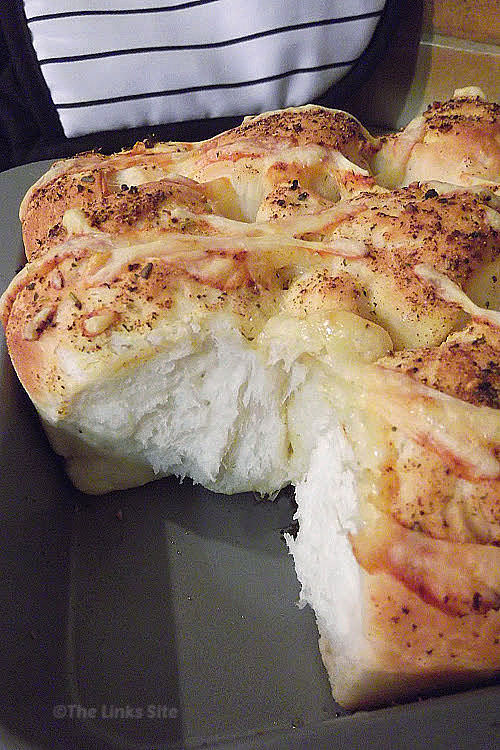
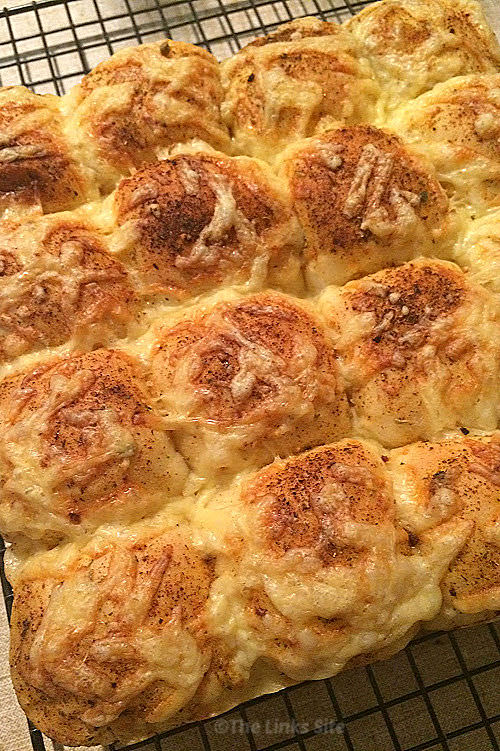
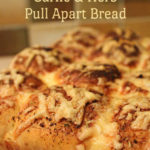
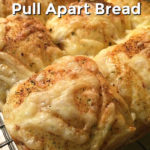
What resulted was delicious, soft, and cheesy bread that I decided to call my Cheesy Garlic and Herb Pull Apart Bread.
Even though I only sprinkling the top of the bread with seasoning it was infused with the delightful garlic and herb flavours and each mouthful was delish!
I have tried to keep the use of the butter and cheese in this recipe down to a minimum because I try to control the calories that I am eating. Despite this the bread was very tasty and the minimal cheese was not even noticed by satisfied children and other adults who were not concerned with calorie intake.
Print
Cheesy Garlic and Herb Pull Apart Bread
- Prep Time: 2 hours
- Cook Time: 25 mins
- Total Time: 2 hours 25 mins
- Yield: 15 – 16
- Category: Appetiser
- Cuisine: Bread
Description
I love this pull apart bread; it is easy to make, great for sharing, and it’s deliciously cheesy and garlicky!
Ingredients
Bread
- 1 Cup of Warm Water
- ½ a Heaped Tablespoon of Yeast
- 1 ½ Tablespoons of Sugar
- ½ Tablespoon of Olive Oil
- ½ Teaspoon of Salt
- ¾ Teaspoon of Bread Improver (Optional)
- 4 Cups (500g) of Crusty White Bread Flour
Topping
- 15g (1/2 oz.) Melted Butter
- Garlic and Herb Seasoning Mix to taste
- 30 – 60g (1 – 2 oz.) Shredded Tasty Cheese
Instructions
- First measure out the yeast, sugar, salt, bread improver, oil, and water into a large mixing bowl and stir to combine. Cover with a tea towel and place in a warm location (5 – 10 mins) until the mixture gets foamy/bubbly looking. As suggested in the original recipe – I ran some warm water into the kitchen sink and sat the bowl in the water to warm it up.
- Then add the flour gradually (either by hand or using a mixer with dough hooks). If mixing by hand add the last of the flour while kneading it for several minutes and continue adding the flour till the dough is not sticky but not too dry either. If using a mixer with dough hooks, add almost all the flour and mix the dough for 7 – 8 minutes. Then use the remaining flour as you shape the dough into a ball.
- Grease a bowl with more olive oil and roll the dough round in the oil to prevent it sticking.
- Place the bowl in a warm place until the dough has doubled in size (30 – 45 minutes). For this step I covered the bowl in cling wrap and a tea towel and placed it in a sheltered sunny position outside.
- Now lightly knead the dough to degas it and shape it into 15 roughly even pieces of dough. Arrange the pieces into a 18cm x 28cm baking dish and again place the dough in a warm place till it doubles in size*.
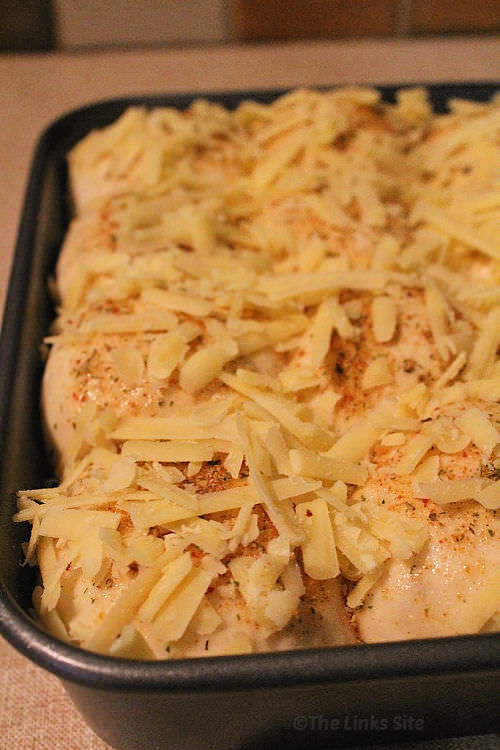
- Brush the top of the bread with the melted butter then sprinkle with the garlic and herb seasoning and scatter the cheese over the top. Place in preheated oven and bake at 200°C (400°F) for 20 – 25 minutes.
- If bread browns very quickly shield top with a piece of aluminium foil. Bread is done when golden brown and a hollow sound is heard when you tap the top of the bread.
- Allow to cool for 5 minutes before transferring to a wire rack.
- Can be served warm or cold.
Notes
* You can alternatively divide the dough into 16 equal pieces and arrange them in a 24 cm square baking dish.
Leave a Reply