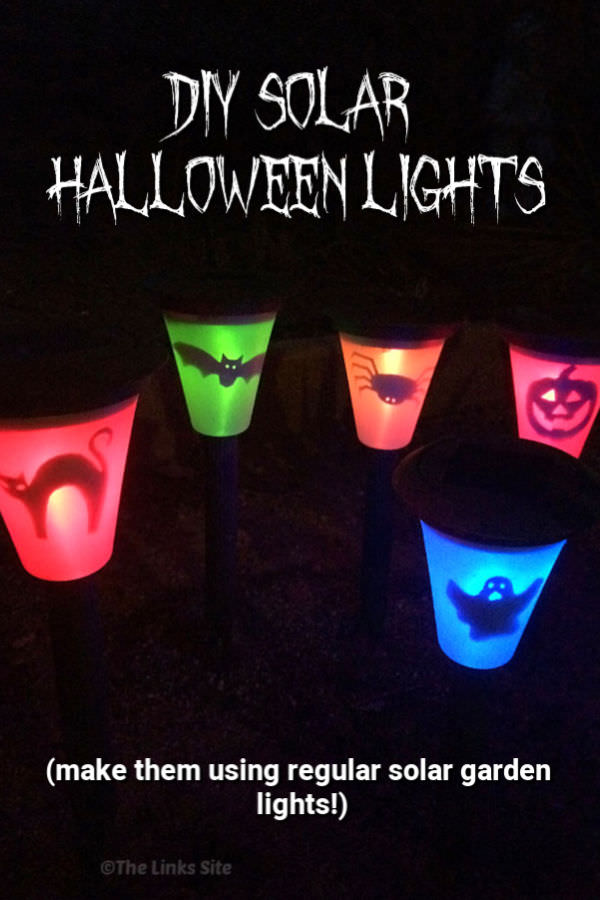
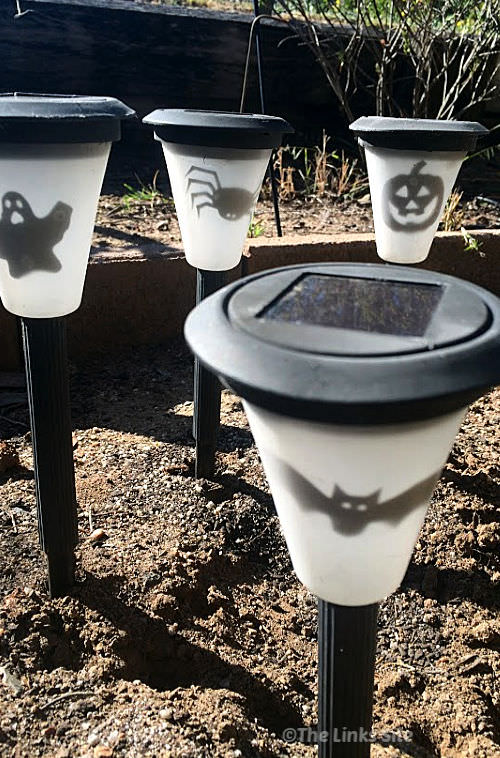
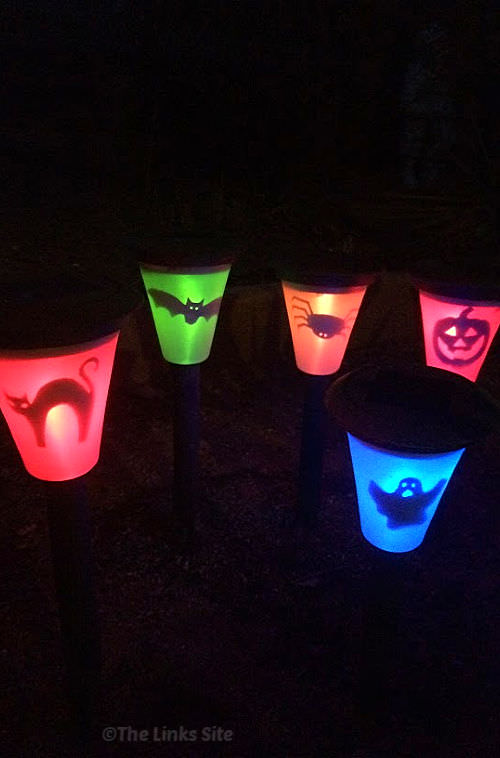
Why go out and buy Halloween lights when you can make you own solar ones. In this post I’ll show you how to make your existing solar lights creepy for Halloween!
Halloween is not a huge event here in Australia although it is getting more and more popular each year. We haven’t made any Halloween decorations at our house in the past because we don’t get any trick or treaters where we live. The distance between houses is a bit big for the kids probably!
Still I started thinking about Halloween decorations recently when I was out at the hardware store and saw that they were selling solar Halloween lights. I love using solar lights for decorations; I made my own solar Christmas lights design last year!
The solar Halloween lights that I saw at the hardware store were selling for around $2 each. Most of them seemed to be based on a carved pumpkin head style. So I got thinking about the solar lights that we already had at home and decided that I could make my own solar Halloween lights. We still might not get any trick or treaters this year but we will have some Halloween lights ready just in case!
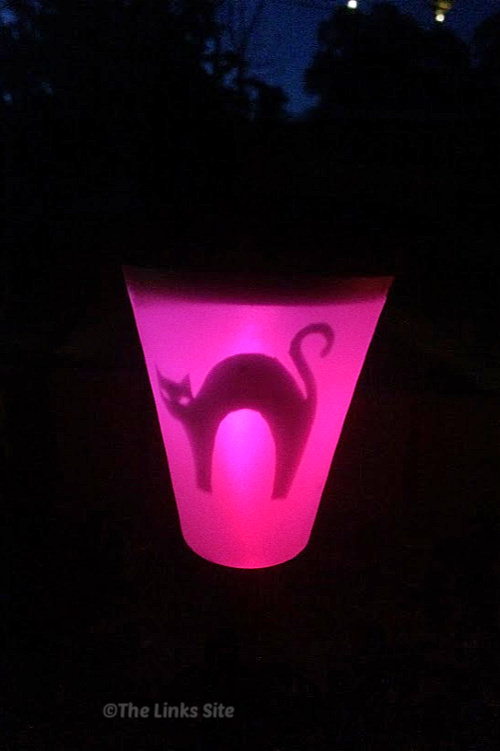
I used regular scissors to cut out the outlines and then a utility knife (help children with this step) to cut out the inner pieces like the pumpkin face. The point of a compass was used to make the small eyes for bats and spiders. See below for the steps I used to make my Halloween lights.
How to Make Your Own Solar Halloween Lights
Materials:
- Solar garden lights with removable top panel (or some that allow you to access the inside of the light)
- Printer and paper
- Scissors, utility knife, and pointy item like a compass (instrument used to draw circles)
- Blu Tack
Method:
I used PicMonkey to create my Halloween cut-out images but you could use mine by just clicking here and printing them.
- If you do want to use PicMonkey follow the steps below to create your images otherwise just print out mine and skip to step 2.
To use PicMonkey:
- In PicMonkey create a new blank canvas
- Click on Themes
- Then choose the Trick or Treat theme
- Select which images you would like for your lights
- position images on you design board (don’t make them too big or they won’t fit in your lights)
- Save your design to your computer
- Open the saved design and print
- Carefully cut out images (may need utility or craft knife for inner pieces and a compass for the small eye holes – be careful!).
- Place several very small pieces of Blu Tack to the front of each cut out.
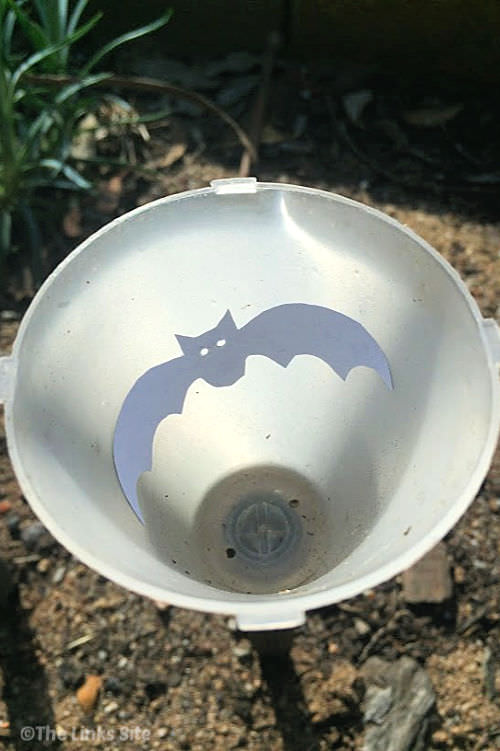
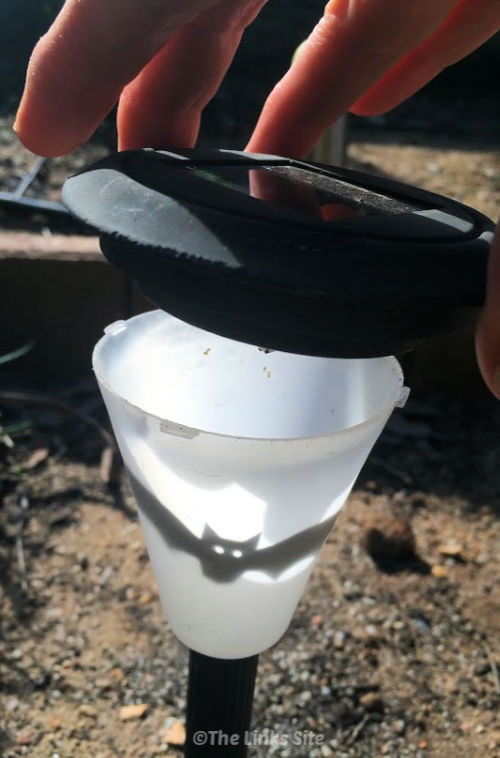
- Take the top off the solar lights and position the cut out inside. Press the cut outs onto the inside of the lights so that they stick in place using the Blu Tack.
- Put the top back on the solar lights and place them back in the garden (where they get sun).
- Repeat for each solar light that you want to decorate.
- Go outside after dark and see the Halloween lights!
The best thing about these DIY solar Halloween lights is that once Halloween is over you can take the paper Halloween images out and they go back to being regular solar lights!




Leave a Reply