Many years ago, when I first wrote about planting out irises, I barely knew anything about them. I touched on the topic but didn’t have much experience to share. Now that I’ve had bearded irises growing in my garden for years, I’ve learnt what actually works, and discovered how wonderfully tough and rewarding they are. So, I thought it was time to revisit the topic properly and share the basics I wish I’d known back then.
Bearded irises look fancy, but they’re surprisingly easy to grow once you understand a few simple rules. Here’s a beginner‑friendly guide to planting them out with confidence.
Choose a Sunny Spot
Bearded irises adore sunshine. Aim for a position that gets at least 6 hours of direct sun a day — more if you can manage it.
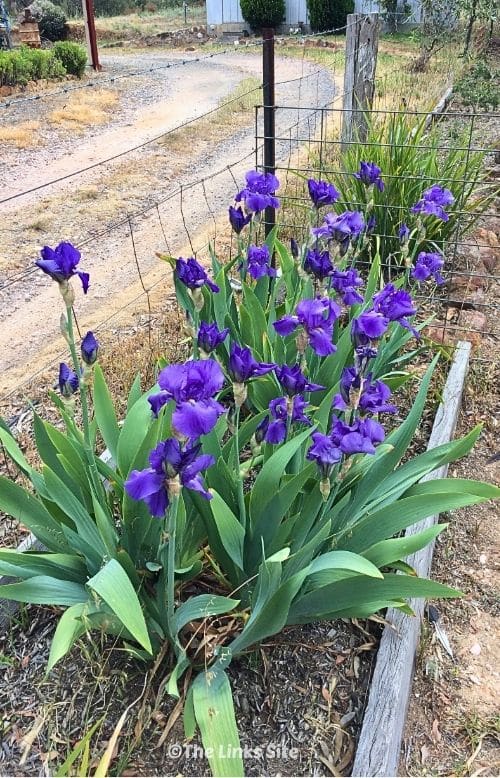
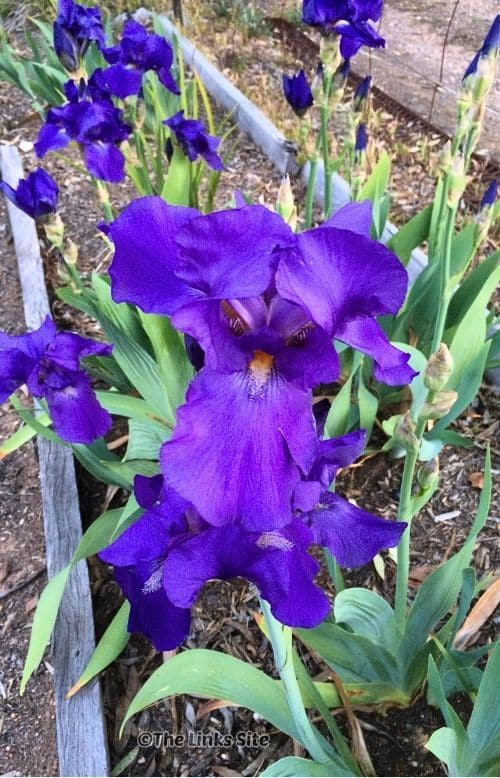
In my own garden, the bearded irises that have grown the strongest and flowered the best are the ones planted in a very open area that gets sun for most of the day. They’ve been incredibly vigorous. By comparison, the ones we planted in a spot with afternoon shade have never grown as strongly and barely flower. We’re planning to move those to a sunnier position because the difference has been so noticeable.
Good airflow also helps keep the plants healthy, so avoid planting them right up against solid fences or in crowded beds. The ones that thrive in my garden are planted up against a fence, but it is a wire fence so there’s no worry with airflow.
If you love sun‑loving plants, we grow plenty of others in similar bright spots — like roses, thryptomene, and California lilac — so the irises fit right in our mostly sunny garden!
Prepare the Soil
Bearded irises hate sitting in soggy soil. If your soil is heavy or tends to stay wet, mix in some compost or coarse sand to improve drainage. Planting them on a slight mound works beautifully too.
They’re not heavy feeders, so you don’t need to add much — just make sure the soil is loose and drains well.
How to Plant Bearded Irises
This is the part that feels a bit unusual when you’re new to growing bearded irises.
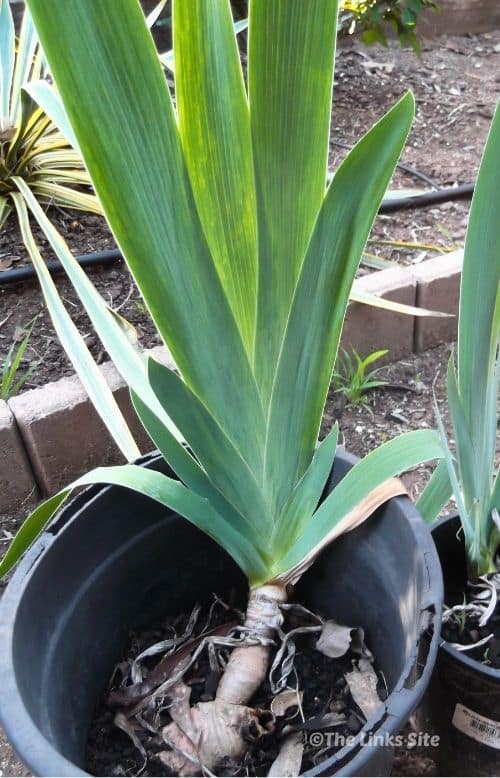
Keep the rhizome on or near the surface.
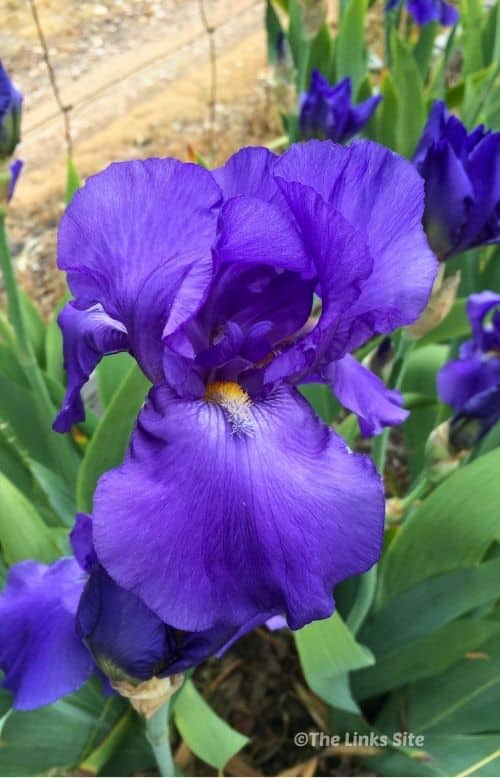
The top of the rhizome should be exposed to the sun. This helps prevent rot and encourages flowering.
Some Australian gardening sites suggest covering the rhizome to stop it “baking” in the hot sun. Personally, even with our very hot summers, I’ve never had any issues leaving the rhizome exposed. Mine have always grown and flowered beautifully.
Spread the roots out underneath.
Make a shallow hole or small mound, drape the roots over it, and settle the rhizome on top.
Backfill lightly.
Cover the roots with soil, but keep the top of the rhizome visible.
If the plant seems unstable with the rhizome exposed, it is okay to cover it with a thin layer of soil until it settles in and then expose the rhizome.
Water to settle the soil.
Give them a gentle drink after planting, then let the soil dry out a little between waterings.
Give each plant 30–40 cm of space so they have room to grow and multiply.

Watering After Planting
Bearded irises don’t need much water once they’re established. After the initial watering, just keep an eye on them for the first couple of weeks. Once settled, they’re wonderfully drought‑tolerant.
Trim the Leaves (Optional but Helpful)
If your irises have long leaves when you plant them, you can trim them back to about 15–20 cm. This helps reduce stress and keeps the plant stable while it establishes.
When to Plant Bearded Irises
Late summer to early autumn is the ideal time to plant bearded irises, as this is when they naturally start putting on new roots. But if you’ve just bought some at a plant sale or have them waiting in pots, you can still plant them — they’re tougher than they look.
Bearded irises are very hardy and will most likely survive if planted at the “wrong” time of year, but it can disrupt their growth cycle. In some cases, planting outside the ideal window may cause them to miss the next flowering season.
A Quick Note on Flowering
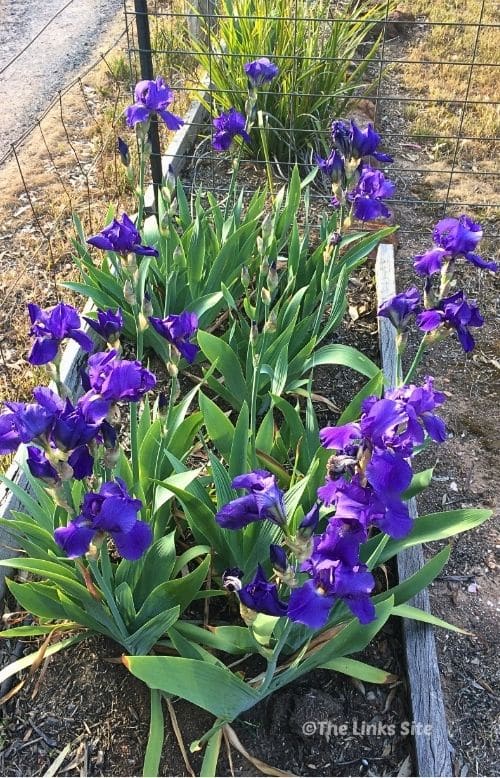
Bearded irises don’t flower for very long — usually just a few weeks — but the display is absolutely worth it. A group of them flowering together is one of the most beautiful sights in the garden. Ours flower in late spring, so often as many of the other spring bulbs are starting to fade, the irises are just getting going.
They bridge the gap beautifully between the early bulbs and the summer colour from plants like zinnias and salvias.
Final Thoughts on Growing Bearded Irises
Bearded irises are one of those plants that look dramatic but are wonderfully low‑maintenance. Once you know not to bury the rhizome, the rest is easy. Give them sun, good drainage, and a little space, and they’ll reward you with gorgeous blooms year after year.
If you enjoy planting for pollinators, they also sit happily alongside many of the plants we grow to attract hoverflies and bees. And another interesting point to note is that our bearded irises have not been eaten by the wild rabbits we have in our garden. That’s handy to know if you’re like me and need to plan your garden around which plants rabbits will and won’t eat!
If you’re curious to learn a little more, the Iris Society of Australia and the American Iris Society both have wonderful resources on growing bearded irises.
Bearded Iris Planting FAQ
Plant bearded irises with the rhizome sitting on or just above the soil surface. Spread the roots out underneath, backfill lightly, and keep the top of the rhizome exposed. Water once to settle the soil, then allow the soil to dry slightly between waterings.
Most growers recommend keeping the rhizome partially exposed so it gets sunlight and airflow. Some Australian sources suggest covering it to prevent “baking” in hot summers, but in my own garden — even with very hot summers — I’ve never had any issues leaving the rhizome exposed.
Bearded irises thrive in full sun. They grow more vigorously and flower far better in very open, sunny positions. Irises planted in afternoon shade often grow slowly and may not flower well.
Late summer to early autumn is ideal because bearded irises naturally start growing new roots at this time. They’re hardy enough to survive planting at other times, but it may disrupt their growth cycle and cause them to miss the next flowering season.
Space bearded iris rhizomes 30–40 cm apart. This gives them room to grow, multiply, and form healthy clumps.
Not much. Give them a good drink after planting, then water lightly for the first couple of weeks. Once established, bearded irises are very drought‑tolerant.
Yes, you can trim the leaves to around 15–20 cm if they’re long or floppy. This helps reduce stress and keeps the plant stable while it settles in.
Bearded irises flower for just a few weeks, but the display is spectacular. They often bloom in late spring — just as many other spring bulbs are fading — so they take over and put on a beautiful show.


Leave a Reply