We never celebrated Halloween when I was a kid. We might have had some decorations up at school but that was about it. That’s because Halloween wasn’t a big thing in Australia back then so there was not much made of it.
Celebrating Halloween is much more popular nowadays. I saw quite a few kids out trick or treating last year which was fun. This year might be even bigger because there seems to be lots of Halloween stuff in the stores. The supermarkets are even selling carving pumpkins this year, despite the fact that it’s not pumpkin season here!
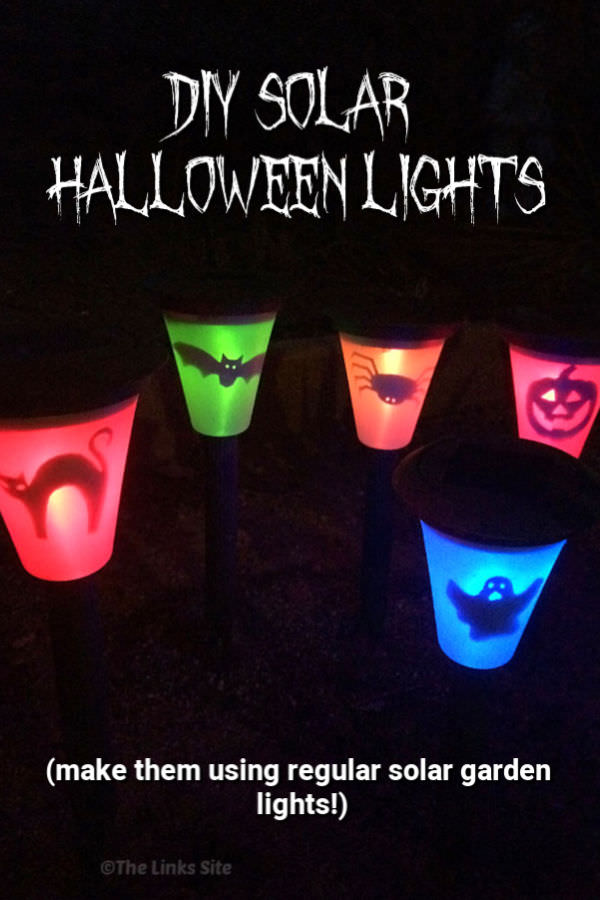
A couple of years ago I made some Halloween Solar Lights for the front yard but this year I thought I’d have a go at some indoor lighting.
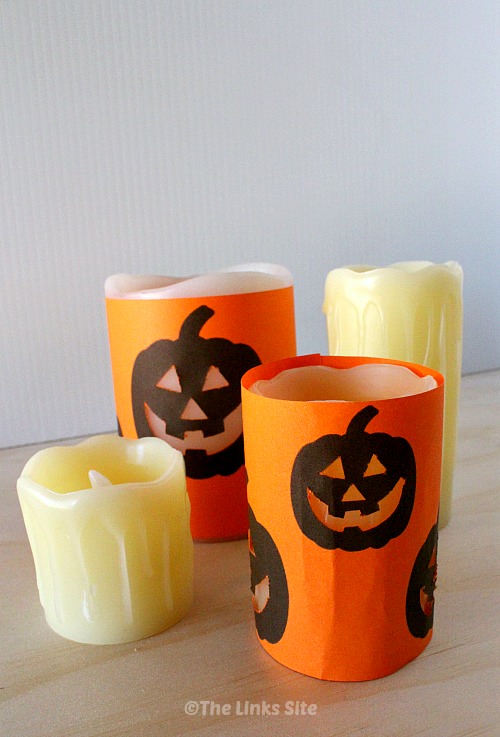
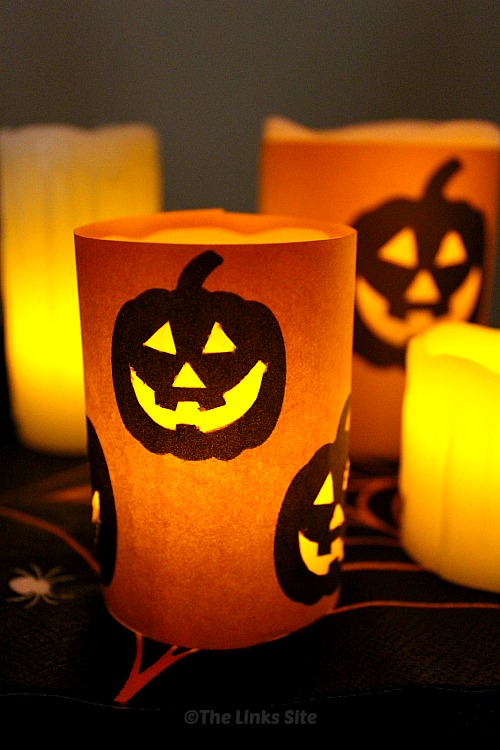
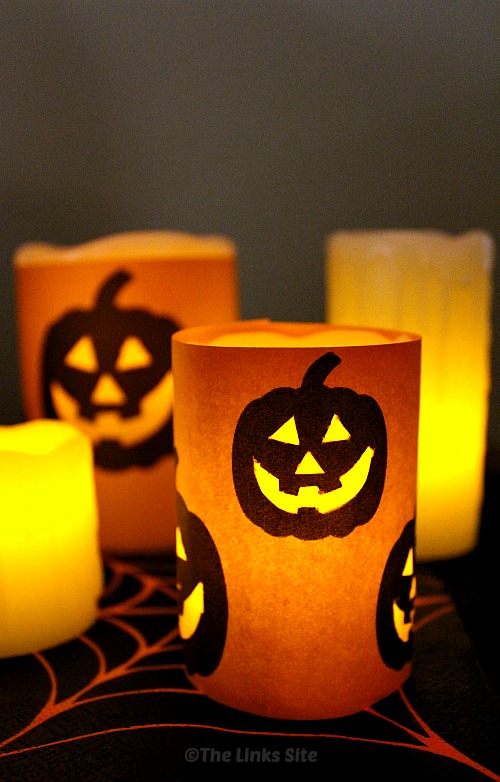
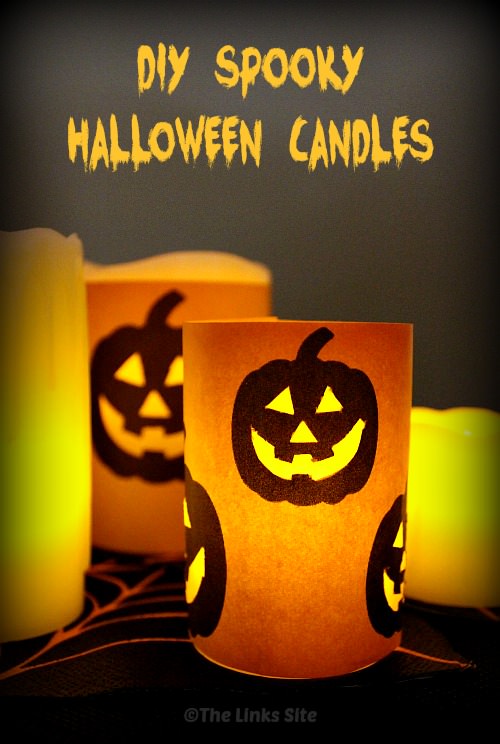
I used some craft paper that I already had and made a couple of Jack O Lantern stencils. Once the stencils are cut to fit the candle and the pumpkin faces are “carved” out they are easy to wrap around the candles. I love the way the faces shine through giving these Halloween Candles an eerie look!
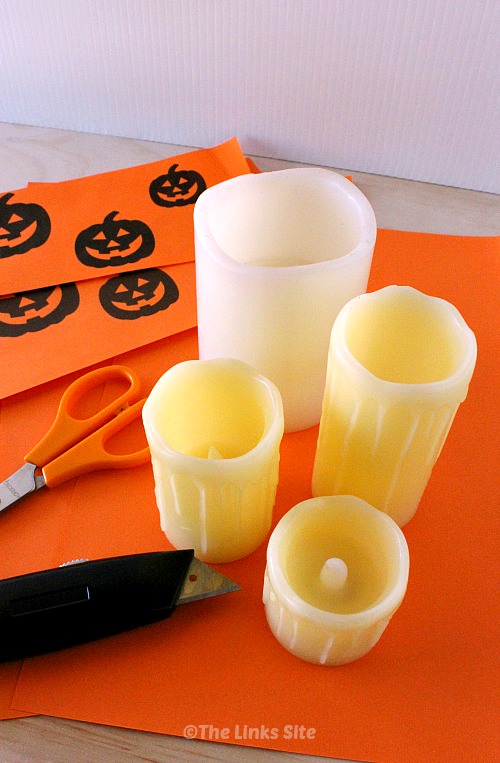
You could also use different Halloween shapes instead of Jack O Lanterns. I made my stencil using this Jack O Lantern but feel free to make your own to suit the size of your candle.
How to Make Spooky Jack O Lantern Halloween Candles
Materials:
- Jack O Lantern stencil (sized to fit your candles)
- Thin orange craft paper (A4 size so it fits into a standard printer)
- Guillotine (or scissors)
- Utility knife
- Battery Operated Candles
- Sticky Tape
Method:
- Print out your stencil onto thin craft paper and trim the edges with a guillotine so that it wraps neatly around your candle with only a small overlap.
- Use a utility knife to cut to the eyes, nose, and mouth of each Jack O Lantern.
- Wrap the stencil around your candle and secure it at the back with sticky tape.
- Turn your candle on and enjoy!
You might also like these DIY Solar Halloween Lights
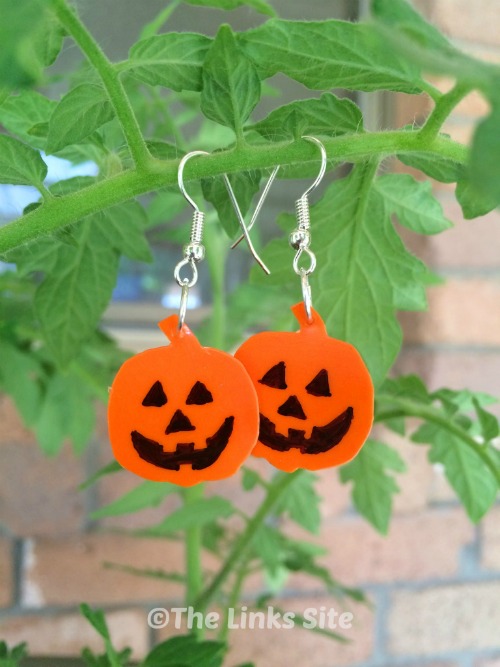
Plus why not make some of these Jack O Lantern Halloween Earrings
And why not try these Puff Pastry Bones for some tasty appetizers for your Halloween Party
For more Halloween ideas check out my Halloween board on Pinterest!



Leave a Reply